Photo by Photo.robs
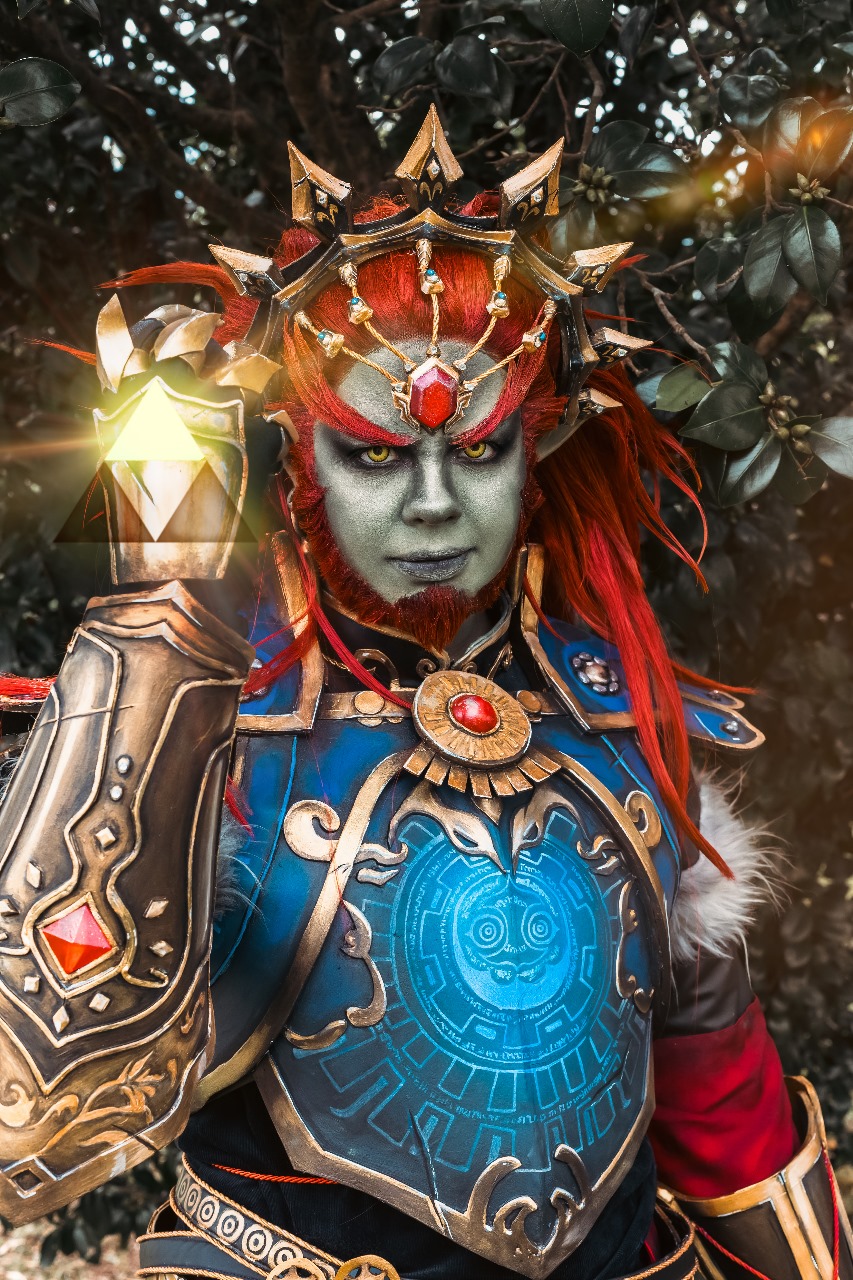
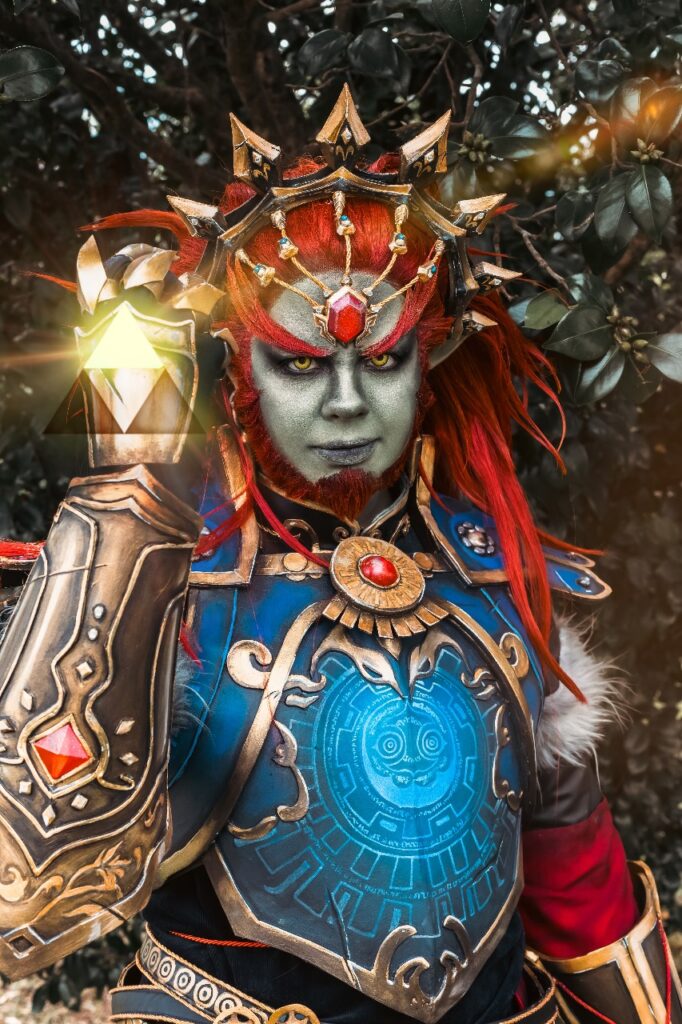
The finishing touches and details of a cosplay are what make the biggest difference in bringing your character to life, and they carry considerable weight during a judge’s evaluation.
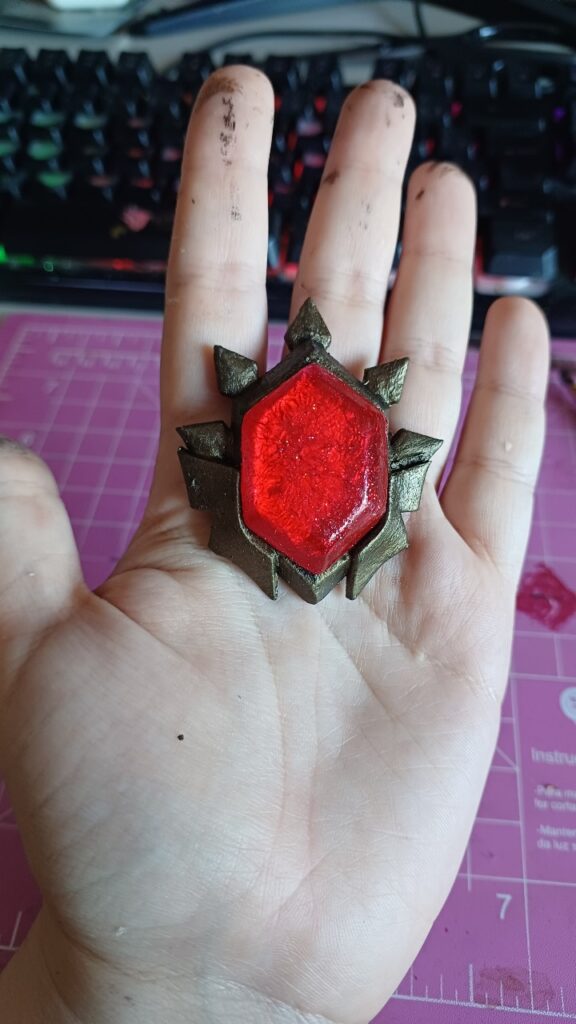
Regardless of your character’s media, you’ve likely encountered them at some point: gemstones.
In various shapes and sizes, some are essential for many cosplays. Made from epoxy resin, they can easily be crafted at home, using a silicone mold that you can find online or in craft stores. But what if the ready-made molds aren’t the shape or size you need?
In the following steps, you’ll learn how to create a custom silicone mold for your cosplays!
What you’ll need:
Protective gear
EVA foam or EVA paste
Cardbord/acetate/acrylic
Tape
Hot glue
Vaseline
Brush
Silicon kit
Disposable containers
Scale
Epoxy resin kit
Epoxy dyes/powder
Lighter/torch/heat gun
Don’t forget: When handling chemicals, always use protective gear like gloves, goggles, and a mask.
First, you need to have the shape of the gem you want to create. Some options include modeling it with EVA foam or sculpting an EVA piece in the same way you would any other prop.
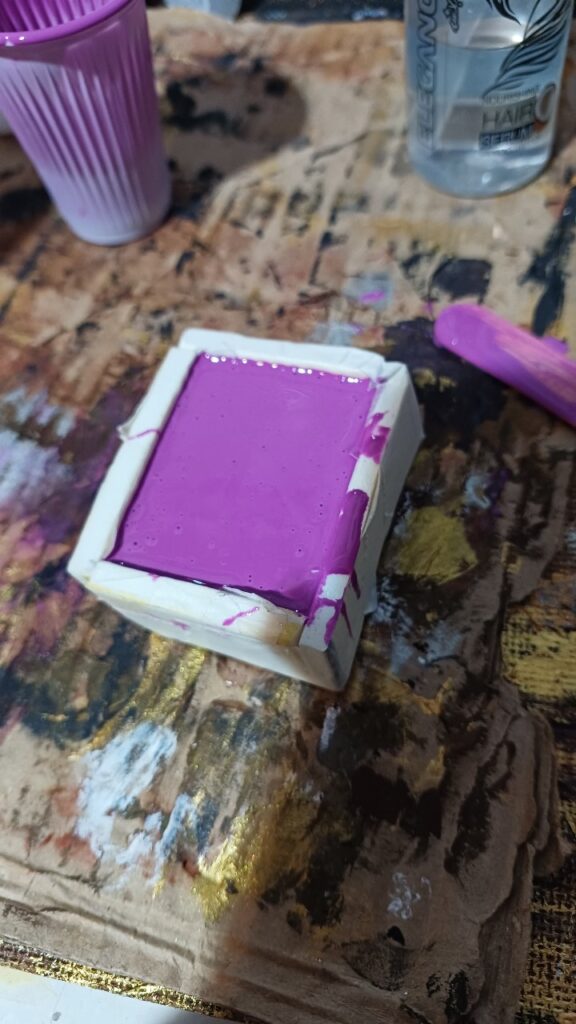
With this project piece ready, it’s time to create the container where the silicone will be poured. Using a sheet of cardboard, EVA foam, acetate, or acrylic, cut five pieces larger in length and height than your project piece. One of the strips will be your base, and the other four will be glued together to form a type of box. To prevent the parts from coming apart and the silicone from leaking, reinforce them with tape or hot glue.
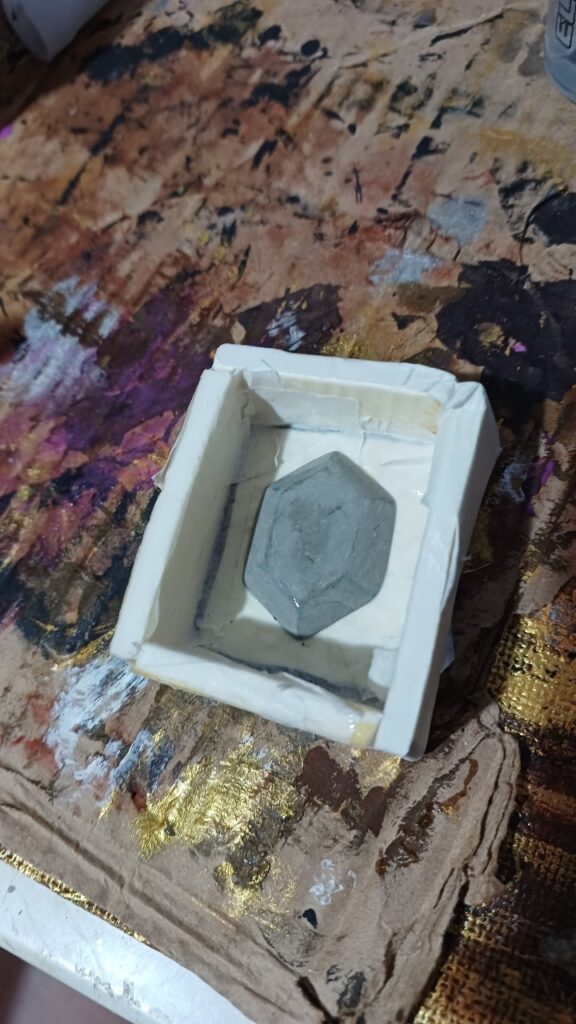
To ensure the project piece doesn’t stick permanently to the silicone during the process, it’s recommended to apply a few coats of Vaseline to the object.
Place the project piece in the middle of your box and prepare the silicone mixture. After pouring it into the box, let the silicone cure for 24 hours or more. Always check the manufacturer’s packaging for the ideal drying time.
After the recommended time, check the silicone’s consistency to see if your mold is ready. If it is, carefully dismantle the box serving as the container and remove the project piece.
With the mold ready, you can move on to the next step: the resin.
Have disposable containers on hand, and on a scale, pour the resin into one container. In another, pour an equal amount of hardener. Ensure both quantities are the same.
Combine them in one container, using dyes and powders to achieve the ideal colour for your gem. Once satisfied with the result, mix the liquid slowly to avoid creating bubbles.
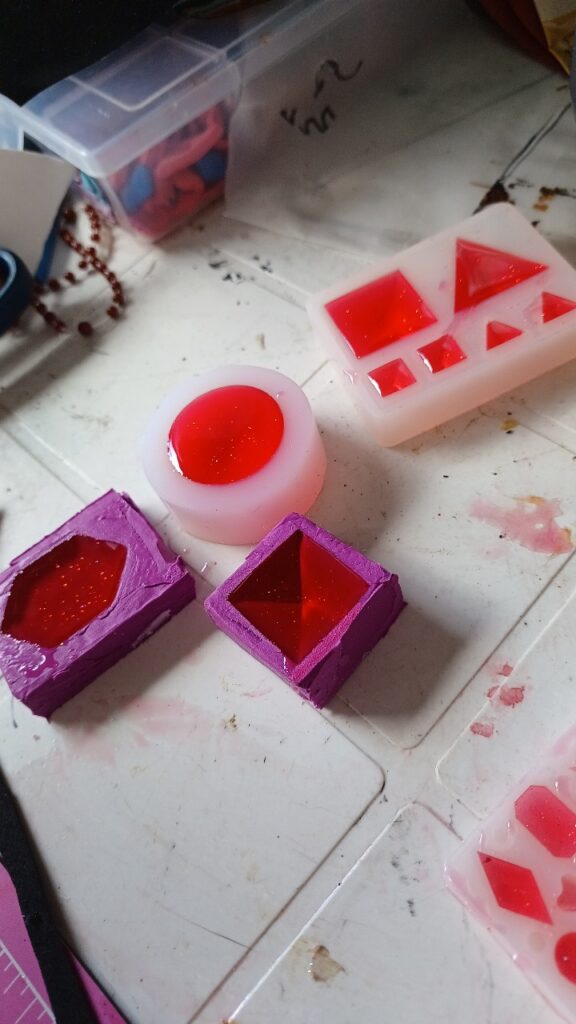
Carefully pour the resin mixture into your silicone mold, always watching to prevent the formation of air bubbles. Fill it to the brim.
If bubbles do form, heat can help disperse them. Use a lighter, torch, or heat gun, and gently move it over the resin, never directly on it.
Now just wait for the curing time, and you’re done!
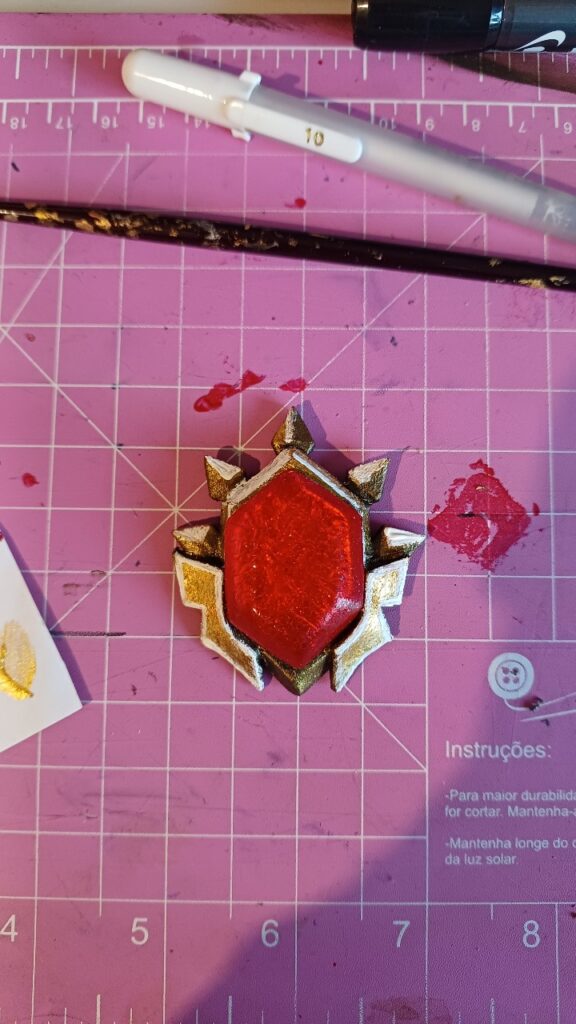
Your custom gemstones are ready for your next cosplay.